Transform Your Nails with Revolutionary Technology
Are you tired of spending hours and hundreds of dollars at nail salons, only to have your manicure chip within days? Semi-cured gel nail strips are revolutionizing the beauty industry, offering busy people an innovative solution for easy salon-quality nails at home.
What you'll learn in this comprehensive guide:
- Complete understanding of semi-cured gel technology
- Step-by-step application and removal processes
- Pro tips for maximum longevity and nail health
- Cost comparison with traditional salon manicures
Estimated reading time: 8 minutes
Table of Contents
- What Are Semi-Cured Gel Nail Strips?
- How Semi-Cured Technology Works
- Complete Application Guide
- Professional Removal Process
- Benefits vs. Traditional Manicures
- Frequently Asked Questions
- Key Takeaways
What Are Semi-Cured Gel Nail Strips? {#what-are}
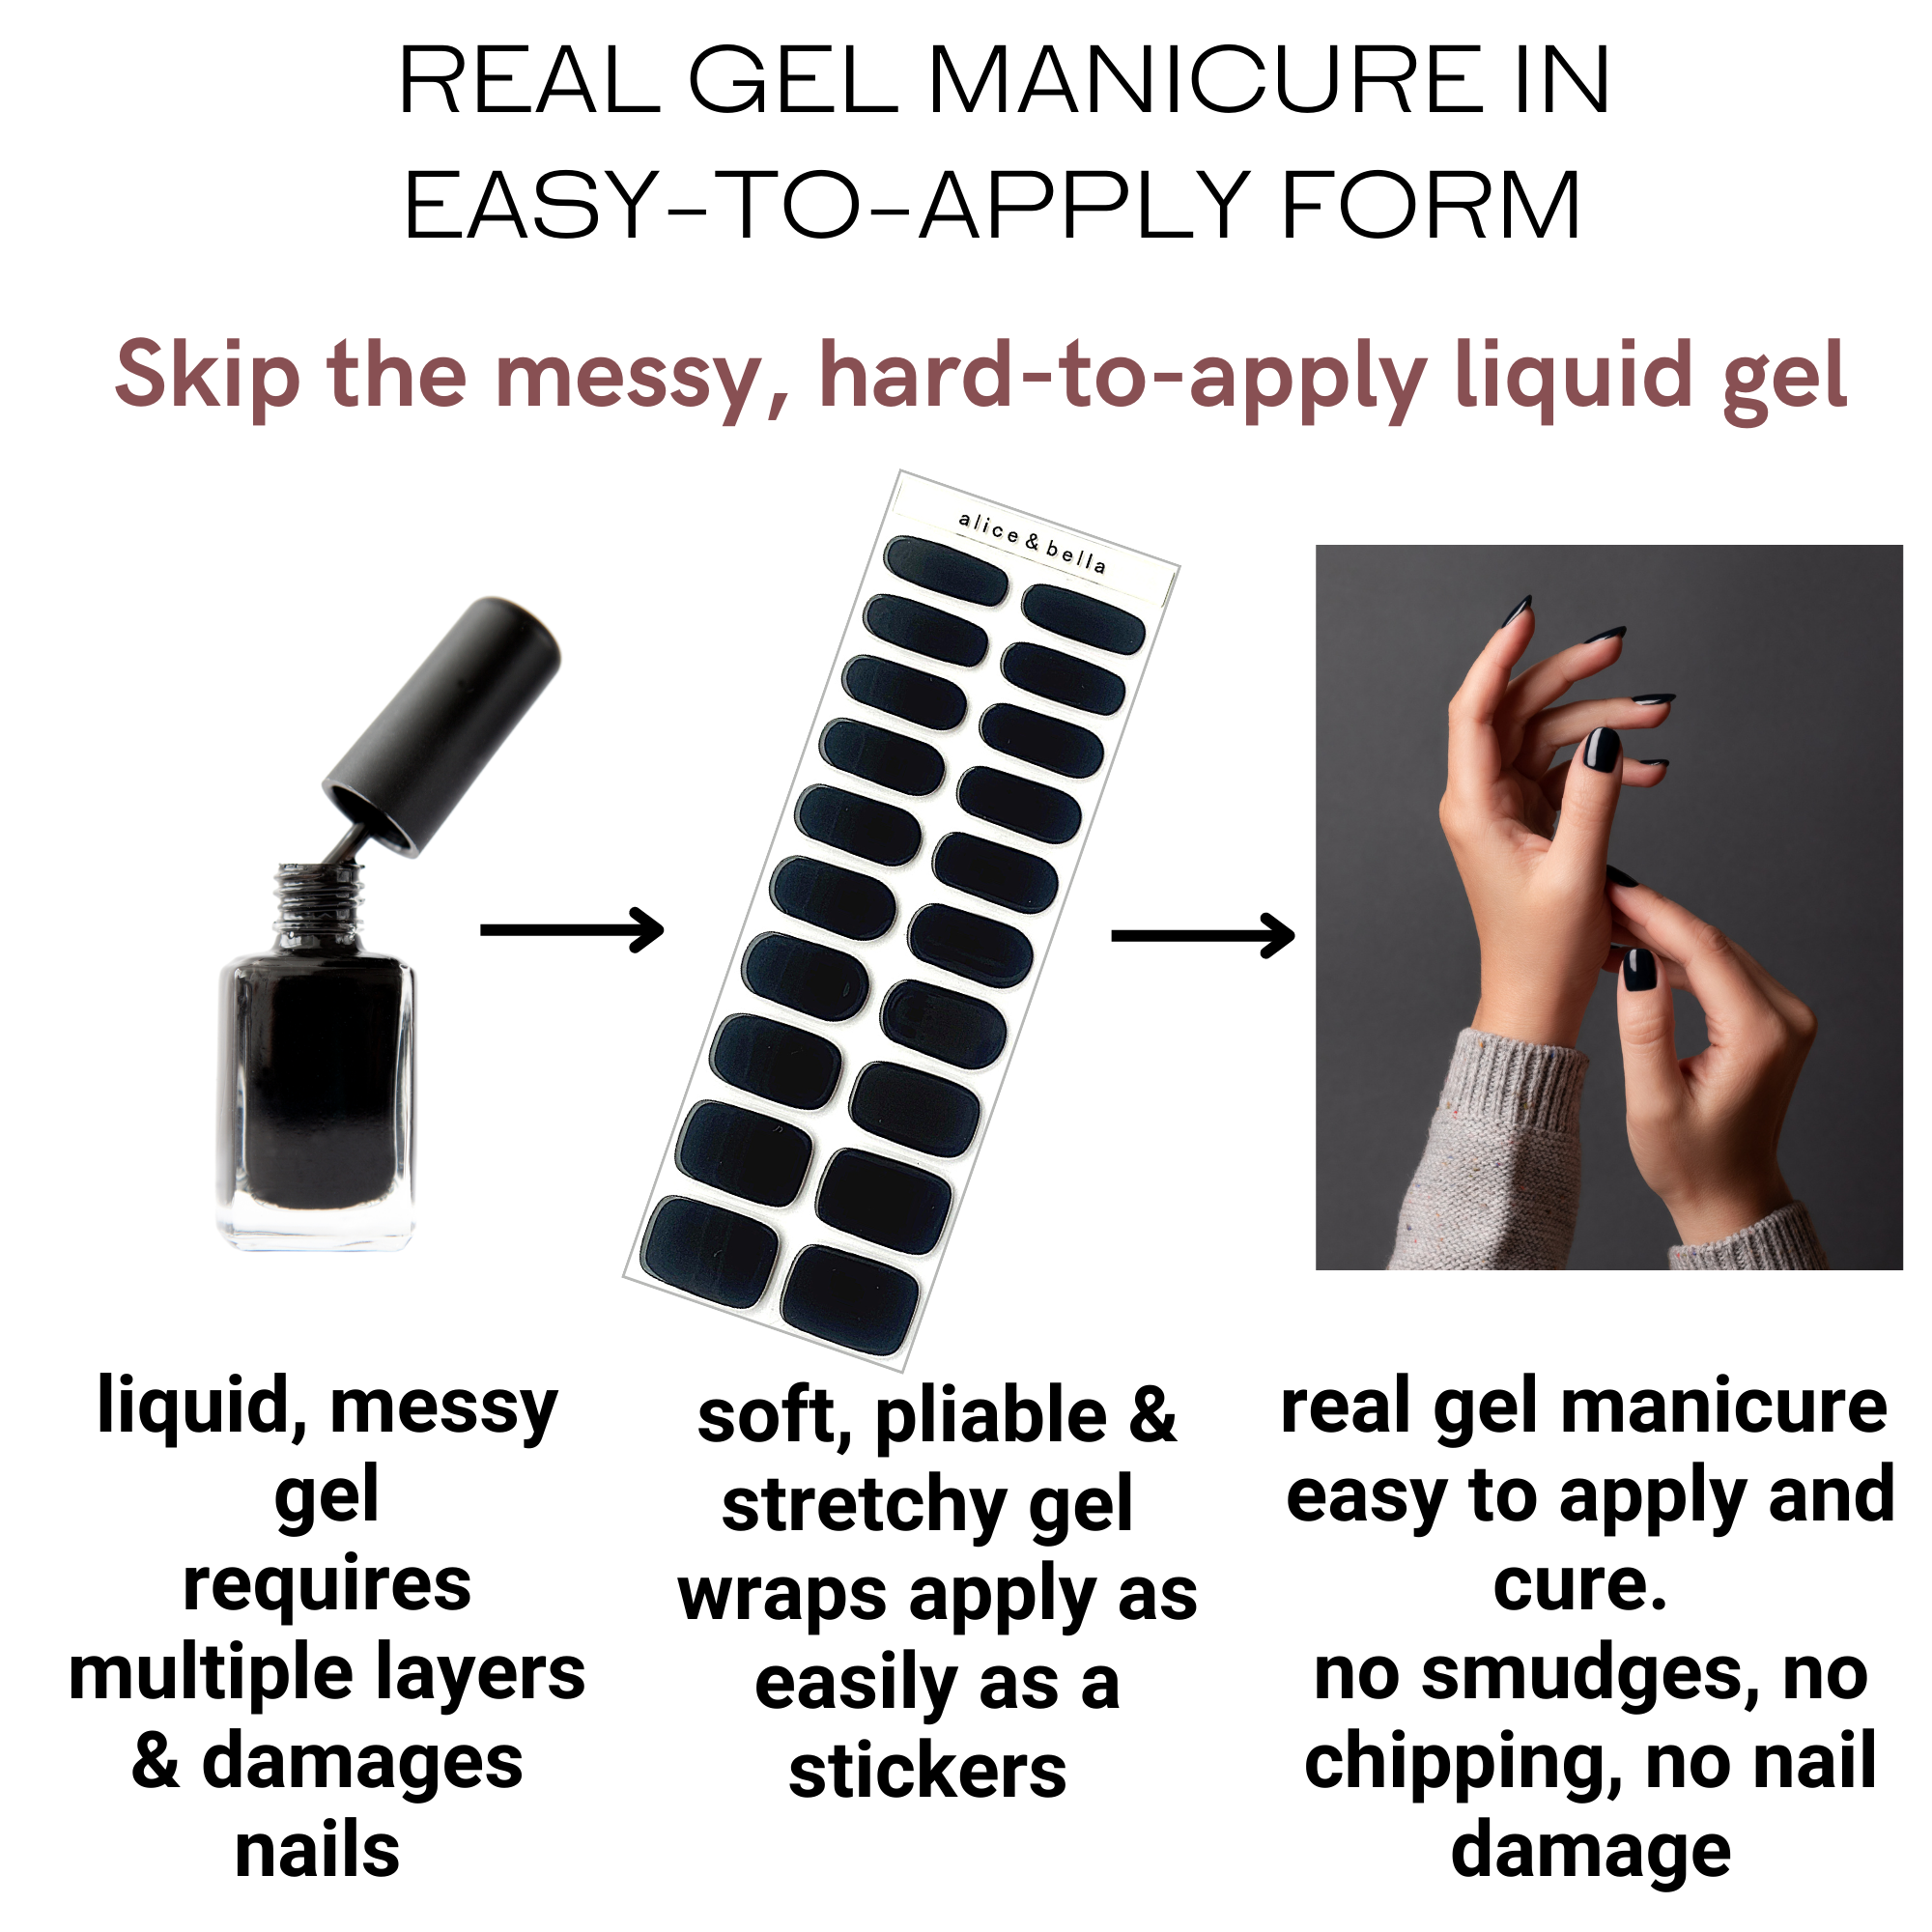
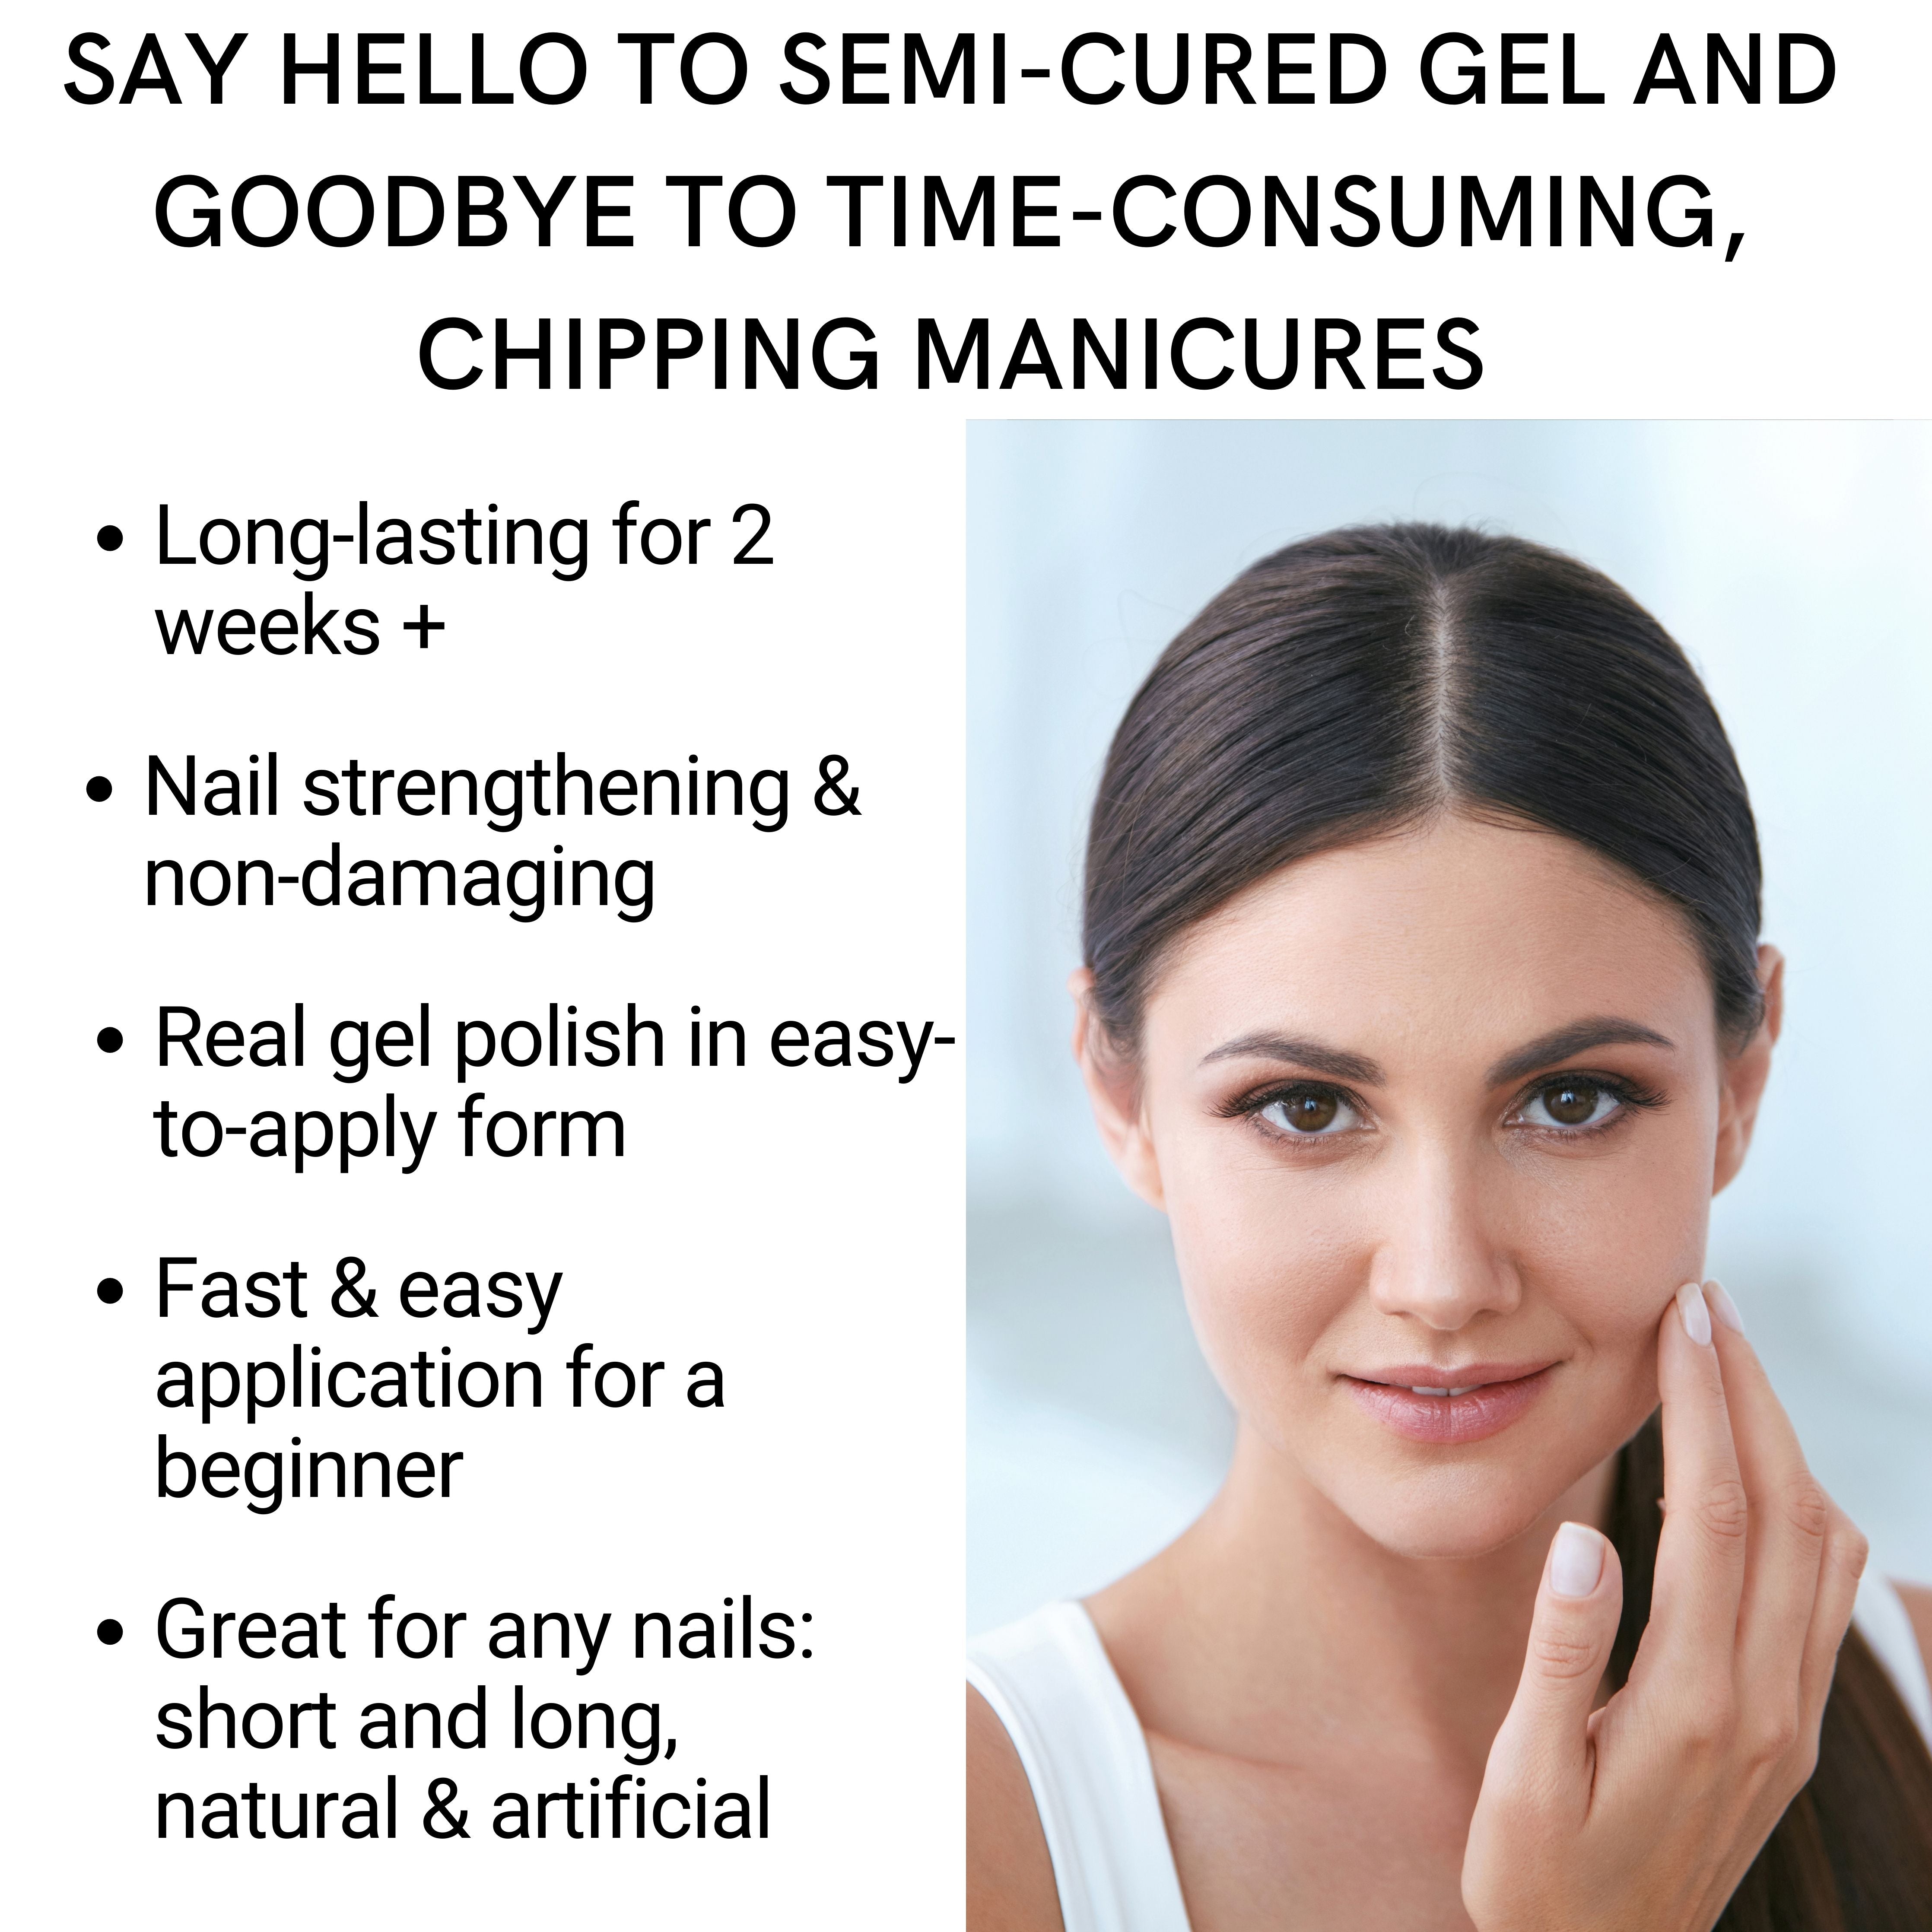
Semi-cured gel nail strips are innovative nail wraps made from partially cured gel polish that adheres to your natural nails with a special adhesive. Unlike traditional nail polish or regular nail stickers, these strips use advanced UV-curable technology that creates a durable, chip-resistant finish lasting up to two weeks.
The Game-Changing Difference
Traditional nail polish: Requires multiple coats, drying time, and chips easily
Regular nail stickers: Limited durability and professional appearance
Semi-cured gel strips: Instant application with salon-quality results and exceptional longevity
Companies like Alice & Bella have perfected this technology with their Gentle Gel™ nail strips, designed specifically for busy individuals who refuse to compromise on nail health or appearance.
How Semi-Cured Technology Works {#how-it-works}
The Science Behind the Innovation
Semi-cured gel nail strips undergo a unique manufacturing process where gel polish is partially cured under UV light, leaving the adhesive layer tacky for application while maintaining the durability of fully cured gel.
The three-layer system:
- Protective top layer: Provides glossy finish and chip resistance
- Color/design layer: Contains pigments and patterns
- Adhesive base layer: Bonds to natural nails during UV curing
Why UV Curing Matters
The final 60-second UV curing process completes the chemical reaction, creating cross-linked polymers that form an incredibly durable surface. This process strengthens your natural nails with a strong gel layer while providing a professional finish that withstands daily activities.
Complete Application Guide {#application-guide}
What You'll Need
- Semi-cured gel nail strips
- LED UV lamp
- Glass nail file
- Cuticle stick
- Prep pad or rubbing alcohol
- Dusting brush
Step-by-Step Professional Application
Step 1: Nail Preparation Clean your nails thoroughly and push back cuticles. Remove any oils or residue with a prep pad to ensure optimal adhesion.
Step 2: Size Selection Choose the strip that best fits each nail. The strip should cover your nail from side to side without touching the skin or cuticle area.
Step 3: Application Technique Remove the clear backing and apply the strip at a 45-degree angle, starting from the cuticle area. Smooth down toward the tip, ensuring no air bubbles form.
Step 4: Trimming and Shaping Cut excess length with nail scissors, leaving about 2mm extra. File in one direction to achieve your desired shape and remove excess material.
Step 5: UV Curing Place your hand under the LED lamp and cure for 60 seconds. This step is crucial for durability and longevity.
Step 6: Final Finishing File the edges smooth and use a dusting brush to remove any debris. Your professional manicure is complete!
Professional Removal Process {#removal-process}
Gentle, Damage-Free Removal
Unlike traditional gel manicures that require harsh acetone soaking, semi-cured gel strips can be removed gently without damaging your natural nails.
The Alice & Bella Method:
- Soak hands in hot water for 3-5 minutes to soften the adhesive
- Gently lift using a cuticle stick or dental floss, starting from one top corner
- Dissolve residue with hand sanitizer applied to the cuticle stick if needed
- Clean thoroughly with a prep pad and wash hands with soap and water
Pro tip: Never force or peel off strips, as this can damage your nail surface. Patience during removal ensures healthy nails for your next application.
Benefits vs. Traditional Manicures {#benefits-comparison}
Time and Convenience
Salon manicure: 60-90 minutes plus travel time
Semi-cured gel strips: 15 minutes at home, anytime
Cost Effectiveness
Salon visits: $35-60 per manicure, $700-1,200 annually
Gel nail strips: $8-15 per application, $200-400 annually
Nail Health Benefits
Semi-cured gel strips actually strengthen and protect natural nails during wear, unlike some salon treatments that can cause thinning or damage from over-filing and harsh chemicals.
Professional Appearance
Advanced printing technology and high-quality materials ensure your at-home manicure looks salon-professional in any setting.
Advanced Tips and Best Practices
Maximizing Longevity
- Avoid water exposure for the first hour after application
- Apply thin layers if using an additional gel top coat
- Moisturize cuticles daily to prevent lifting
Troubleshooting Common Issues
Air bubbles: Smooth out immediately with firm pressure
Edge lifting: File down and apply pressure while curing
Uneven application: Remove and reapply as needed before curing with a UV light lamp
Choosing the Right Brand
What to Look For
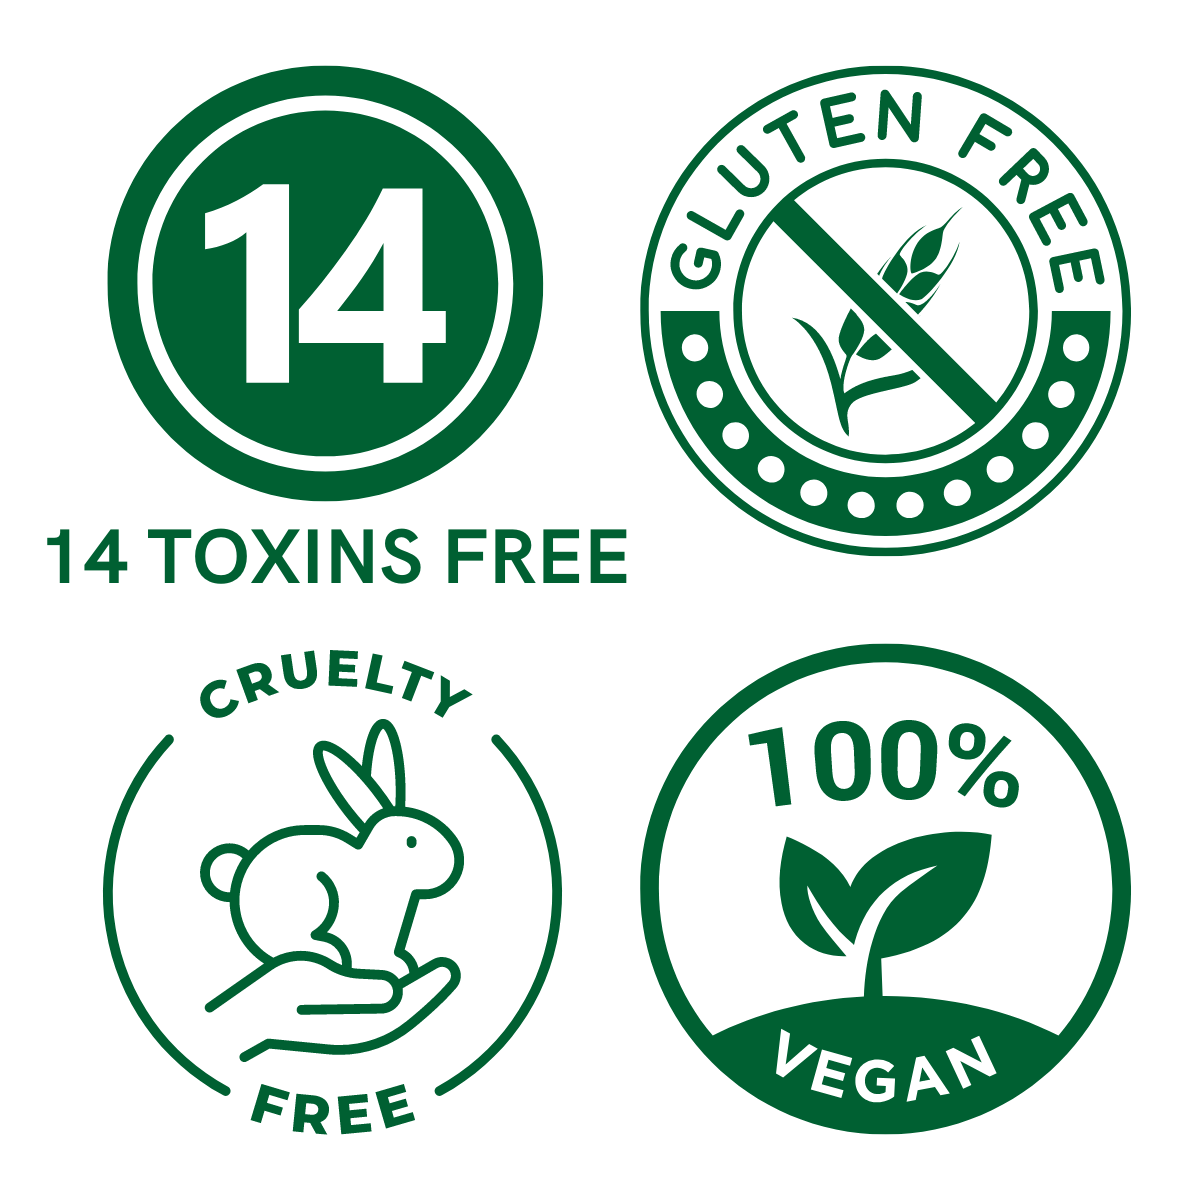
- Quality materials: Look for brands using premium gel formulations & gentle, non-toxic adhesive
- Safety standards: Ensure UV exposure times are minimal and safe
- Customer support: Choose companies offering application guidance
- Nail health focus: Select brands prioritizing nail strengthening
Alice & Bella's Gentle Gel™ strips exemplify these standards, offering professional-grade quality with a focus on nail health and user experience.
Frequently Asked Questions {#faq}
Are semi-cured gel nail strips safe for daily use?
Yes, when applied and removed properly, semi-cured gel strips are safe for regular use. The brief UV exposure (60 seconds) is minimal compared to salon UV lamps, and quality strips like Alice & Bella's Gentle Gel™ strengthen nails during wear and support natural nail growth.
How long do semi-cured gel nail strips last?
High-quality strips typically last 10-14 days with proper application. Factors affecting longevity include nail preparation, daily activities, and strip quality.
Can I apply semi-cured gel strips over damaged nails?
Semi-cured gel strips can help protect and strengthen nails during the growing process (e.g., after regular gel/shellac use) when applied to a healthy nail surface. However, if you're uncertain about your nail health, seek medical advice from a dermatologist or nail specialist before using any product.
Do I need a special UV lamp?
A UV lamp is recommended for optimal curing. Some brands offer starter kits with appropriate lamps to ensure proper results.
Key Takeaways {#takeaways}
The bottom line: Semi-cured gel nail strips offer the perfect solution for busy professionals seeking salon-quality nails without the time commitment or expense.
Action steps to get started:
- Research quality brands focusing on nail health
- Invest in a proper LED UV lamp and basic tools
- Practice the application technique for best results
Remember: Proper preparation and patience during application and removal ensure beautiful, healthy nails and maximum value from your investment.
Experience the convenience and quality of semi-cured gel technology with Alice & Bella's Gentle Gel™ nail strips. Visit www.aliceandbella.com to explore our complete collection of professional-grade nail solutions designed for your busy lifestyle.
About Alice & Bella
Alice & Bella specializes in innovative semi-cured Gentle Gel™ nail strips, empowering busy professionals with salon-quality nail care solutions. Our products combine cutting-edge technology with nail health prioritization, offering convenient, professional results at home.
Related Articles
- How to Apply Semi-Cured Gel Nail Strips Like a Pro
- Semi-Cured Gel Nail Strips vs. Salon Manicures: Cost Analysis
- Top 5 Mistakes to Avoid When Using Gel Nail Wraps