How to Apply Semi-Cured Gel Nail Strips Like a Pro: Master the Technique
Meta Description: Learn professional techniques for applying semi-cured gel nail strips perfectly. Get salon-quality results at home with our expert step-by-step guide.
Master Professional Application in Under 20 Minutes
Have you ever wondered how nail technicians achieve those flawless, bubble-free gel nail applications? The secret isn't just experience—it's technique. With semi-cured gel nail strips, you can master professional-level results at home once you understand the proper application methods.
What you'll master in this tutorial:
- Professional nail preparation techniques
- Foolproof application method for perfect results every time
- Troubleshooting tips for common application challenges
- Pro secrets for achieving 2-week longevity
Estimated reading time: 6 minutes
Table of Contents
- Essential Tools and Setup
- Professional Nail Preparation
- Perfect Strip Selection
- Master Application Technique
- UV Curing Process
- Professional Finishing
- Troubleshooting Common Issues
- Pro Tips for Longevity
Essential Tools and Setup
Your Professional Toolkit
Must-have tools:
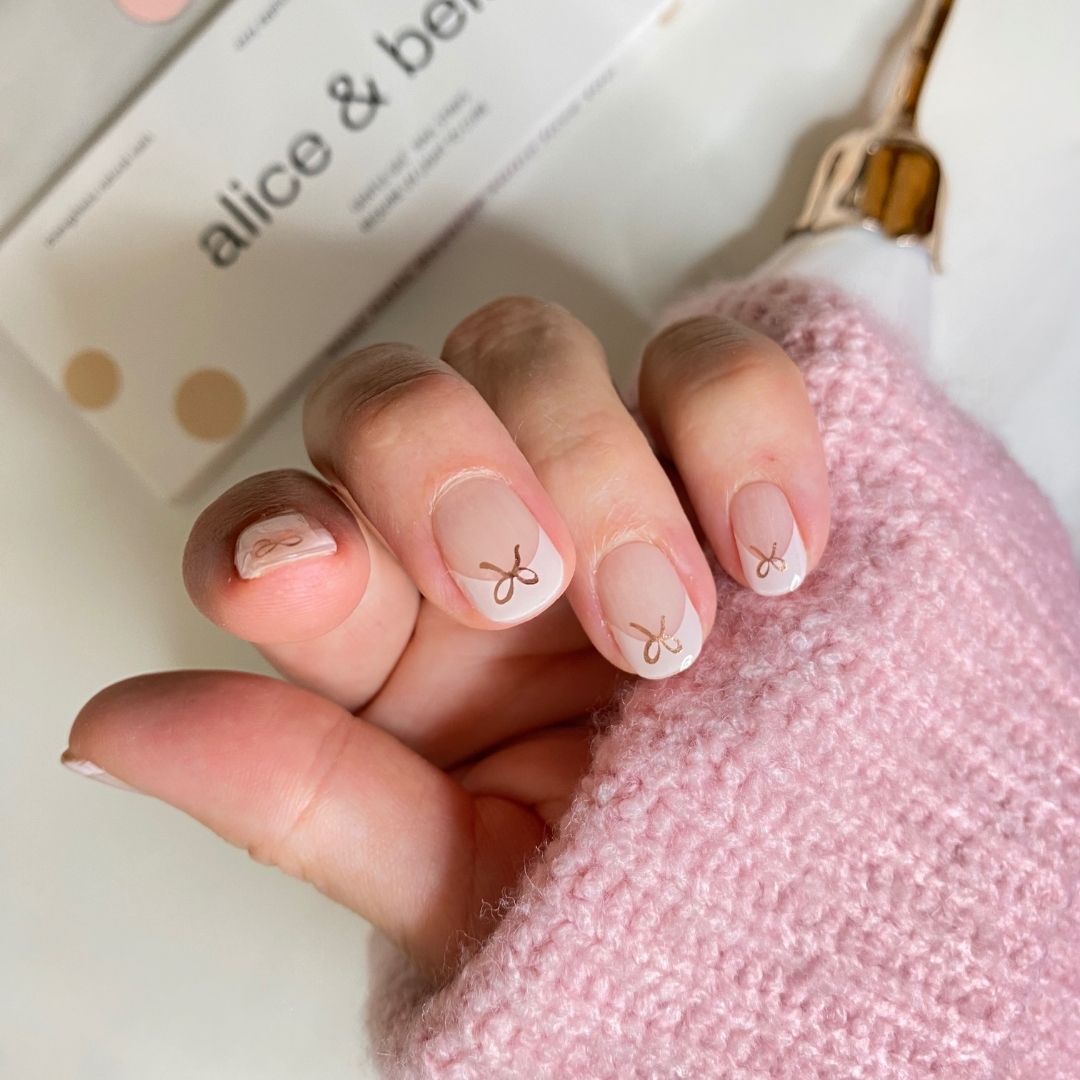
- Semi-cured gel nail strips (Alice & Bella Gentle Gel™ recommended)
- UV light lamp (any wattage suitable for gel curing)
- Czech crystal cuticle stick
- Glass nail file (never use metal)
- Dusting brush
- Prep pads or 70% isopropyl alcohol
- Small scissors (optional)
Creating Your Workspace
Set up in a cosy, well-lit area with a flat surface. Have all tools within easy reach and ensure your UV light lamp is positioned for comfortable hand placement. Good lighting is crucial for ensuring precise application.
Last but not least, have your favorite music or a podcast playing to create a fun environment. Light your favorite scented candle for that pampering spa feeling. Even better - invite a group of girlfriends to join in the fun and make it a nail party!
Pro tip: Work on one hand completely before starting the other. This prevents strip edge damage and allows you to perfect your technique. Plus, you'll have one gorgeous hand to admire while working on the second!
Professional Nail Preparation
The Foundation of Long-Lasting Results
Step 1: Shape and Length
File nails to your desired length using a glass file. File in one direction only—back-and-forth sawing weakens the nail structure and creates micro-tears.
Step 2: Cuticle Care
Gently push back cuticles with a cuticle stick. Never cut cuticles, as this can lead to infection and irregular growth patterns that affect strip adhesion.
Step 3: Surface Preparation
Clean nails thoroughly with a prep pad or alcohol to remove all oils, dust, and residue. This step is critical—any contaminants will cause premature lifting.
The Professional Secret
Take a moment to breathe and wait 2-3 minutes after cleaning before applying strips. This allows any remaining moisture to evaporate completely, ensuring optimal adhesion. Use this time to choose your favorite design or chat with your friends!
Perfect Strip Selection
Size Matters for Professional Results
The Golden Rule: Choose a strip that covers your nail from sidewall to sidewall without touching the skin. The strip should be slightly narrower than your nail bed.
Size selection process:
- Hold strips over each nail without removing the clear backing
- Select the closest size—err on the side of slightly smaller
- If between sizes, choose the smaller option and stretch gently during application
For wide nail beds: Alice & Bella's Gentle Gel™ strips come in multiple widths to accommodate different nail shapes without compromising coverage. If necessary, strips can be stretched lengthwise or widthwise to customize the fit.
Master Application Technique
The Professional Method
Step 1: Strategic Removal
Remove the clear backing film carefully, handling only the edges to avoid fingerprints on the adhesive surface.
Step 2: The 45-Degree Approach
This is the key to bubble-free application. Place the strip at a 45-degree angle starting near (but not touching) the cuticle area.
Step 3: Smooth Application
Using firm, consistent pressure, smooth the strip down toward the nail tip. Work from center outward to push any air toward the edges.
Step 4: Edge Sealing
Press firmly along all edges, especially the cuticle area and sidewalls. Using the included wooden stick is highly recommended to press along the edges of the strip. This prevents water infiltration and extends wear time.
Step 5: Excess Removal
Cut the strip to your nail length and file the edge after UV light curing.
Common Application Mistakes
- Applying flat: Always use the 45-degree angle approach
- Insufficient pressure: Firm pressure ensures proper bonding
- Touching/applying over the cuticle/skin: Leave a tiny gap to prevent lifting
UV Curing Process
Completing the Chemical Bond
Step 1: Proper Positioning
Place all five fingertips under the UV light lamp simultaneously. Ensure even light exposure across all nails.
Step 2: Timing is Everything
Cure for 60-90 seconds. Repeat if needed as UV nail lamps can have different UV power. Under-curing leads to soft, easily damaged nails, while over-curing can cause brittleness. Do not cure for over 3 minutes combined.
Step 3: Heat Sensation
Don't worry if you feel some warmth during curing—this is completely normal and shows the magic is happening! This indicates the chemical reaction is working properly.
Post-curing care: Avoid touching the surface for 30 seconds after curing to allow complete hardening.
Professional Finishing
Achieving Salon-Quality Results
Step 1: Precise Trimming
Using nail scissors or a glass file, trim excess length. Cut straight across, then file to your desired shape.
Step 2: Edge Refinement
File the edges where the strip meets your natural nail, creating a seamless blend. This step separates amateur from professional results.
Step 3: Surface Smoothing
Gently file any uneven areas where the strip overlaps. The goal is a completely smooth surface indistinguishable from salon gel.
Step 4: Final Cleanup
Use a dusting brush to remove all filing debris. Clean any dust from the cuticle area for a polished appearance.
Troubleshooting Common Issues
Problem-Solving Like a Pro
Air Bubbles
Cause: Insufficient pressure during application
Solution: Apply firm pressure immediately and work bubbles toward edges
Edge Lifting
Cause: Oil contamination or incorrect sizing
Solution: Clean thoroughly and ensure proper strip size selection
Uneven Coverage
Cause: Incorrect application angle or rushed technique
Solution: Remove and reapply—don't attempt to fix major issues
Premature Chipping
Cause: Inadequate curing or edge preparation
Solution: Ensure full 60-second cure time and proper edge sealing
Pro Tips for Maximum Longevity
Secrets from Nail Professionals
Before Application:
- Avoid hand lotion for 24 hours before application
- Don't apply immediately after showering or bath—wait for complete nail dryness for a few hours
- Work in a moderate temperature (68-72°F) for optimal adhesive performance
During Application:
- Apply even pressure across the entire nail surface
- Pay extra attention to stress points (tips and sidewalls)
After Application:
- Avoid water exposure for the first hour (perfect time for a coffee break!)
- Apply cuticle oil or hand lotion daily to prevent lifting at the base - treat yourself to this mini daily ritual
- Wear gloves during cleaning or heavy work (your beautiful nails deserve protection!)
Achieving Two-Week Wear
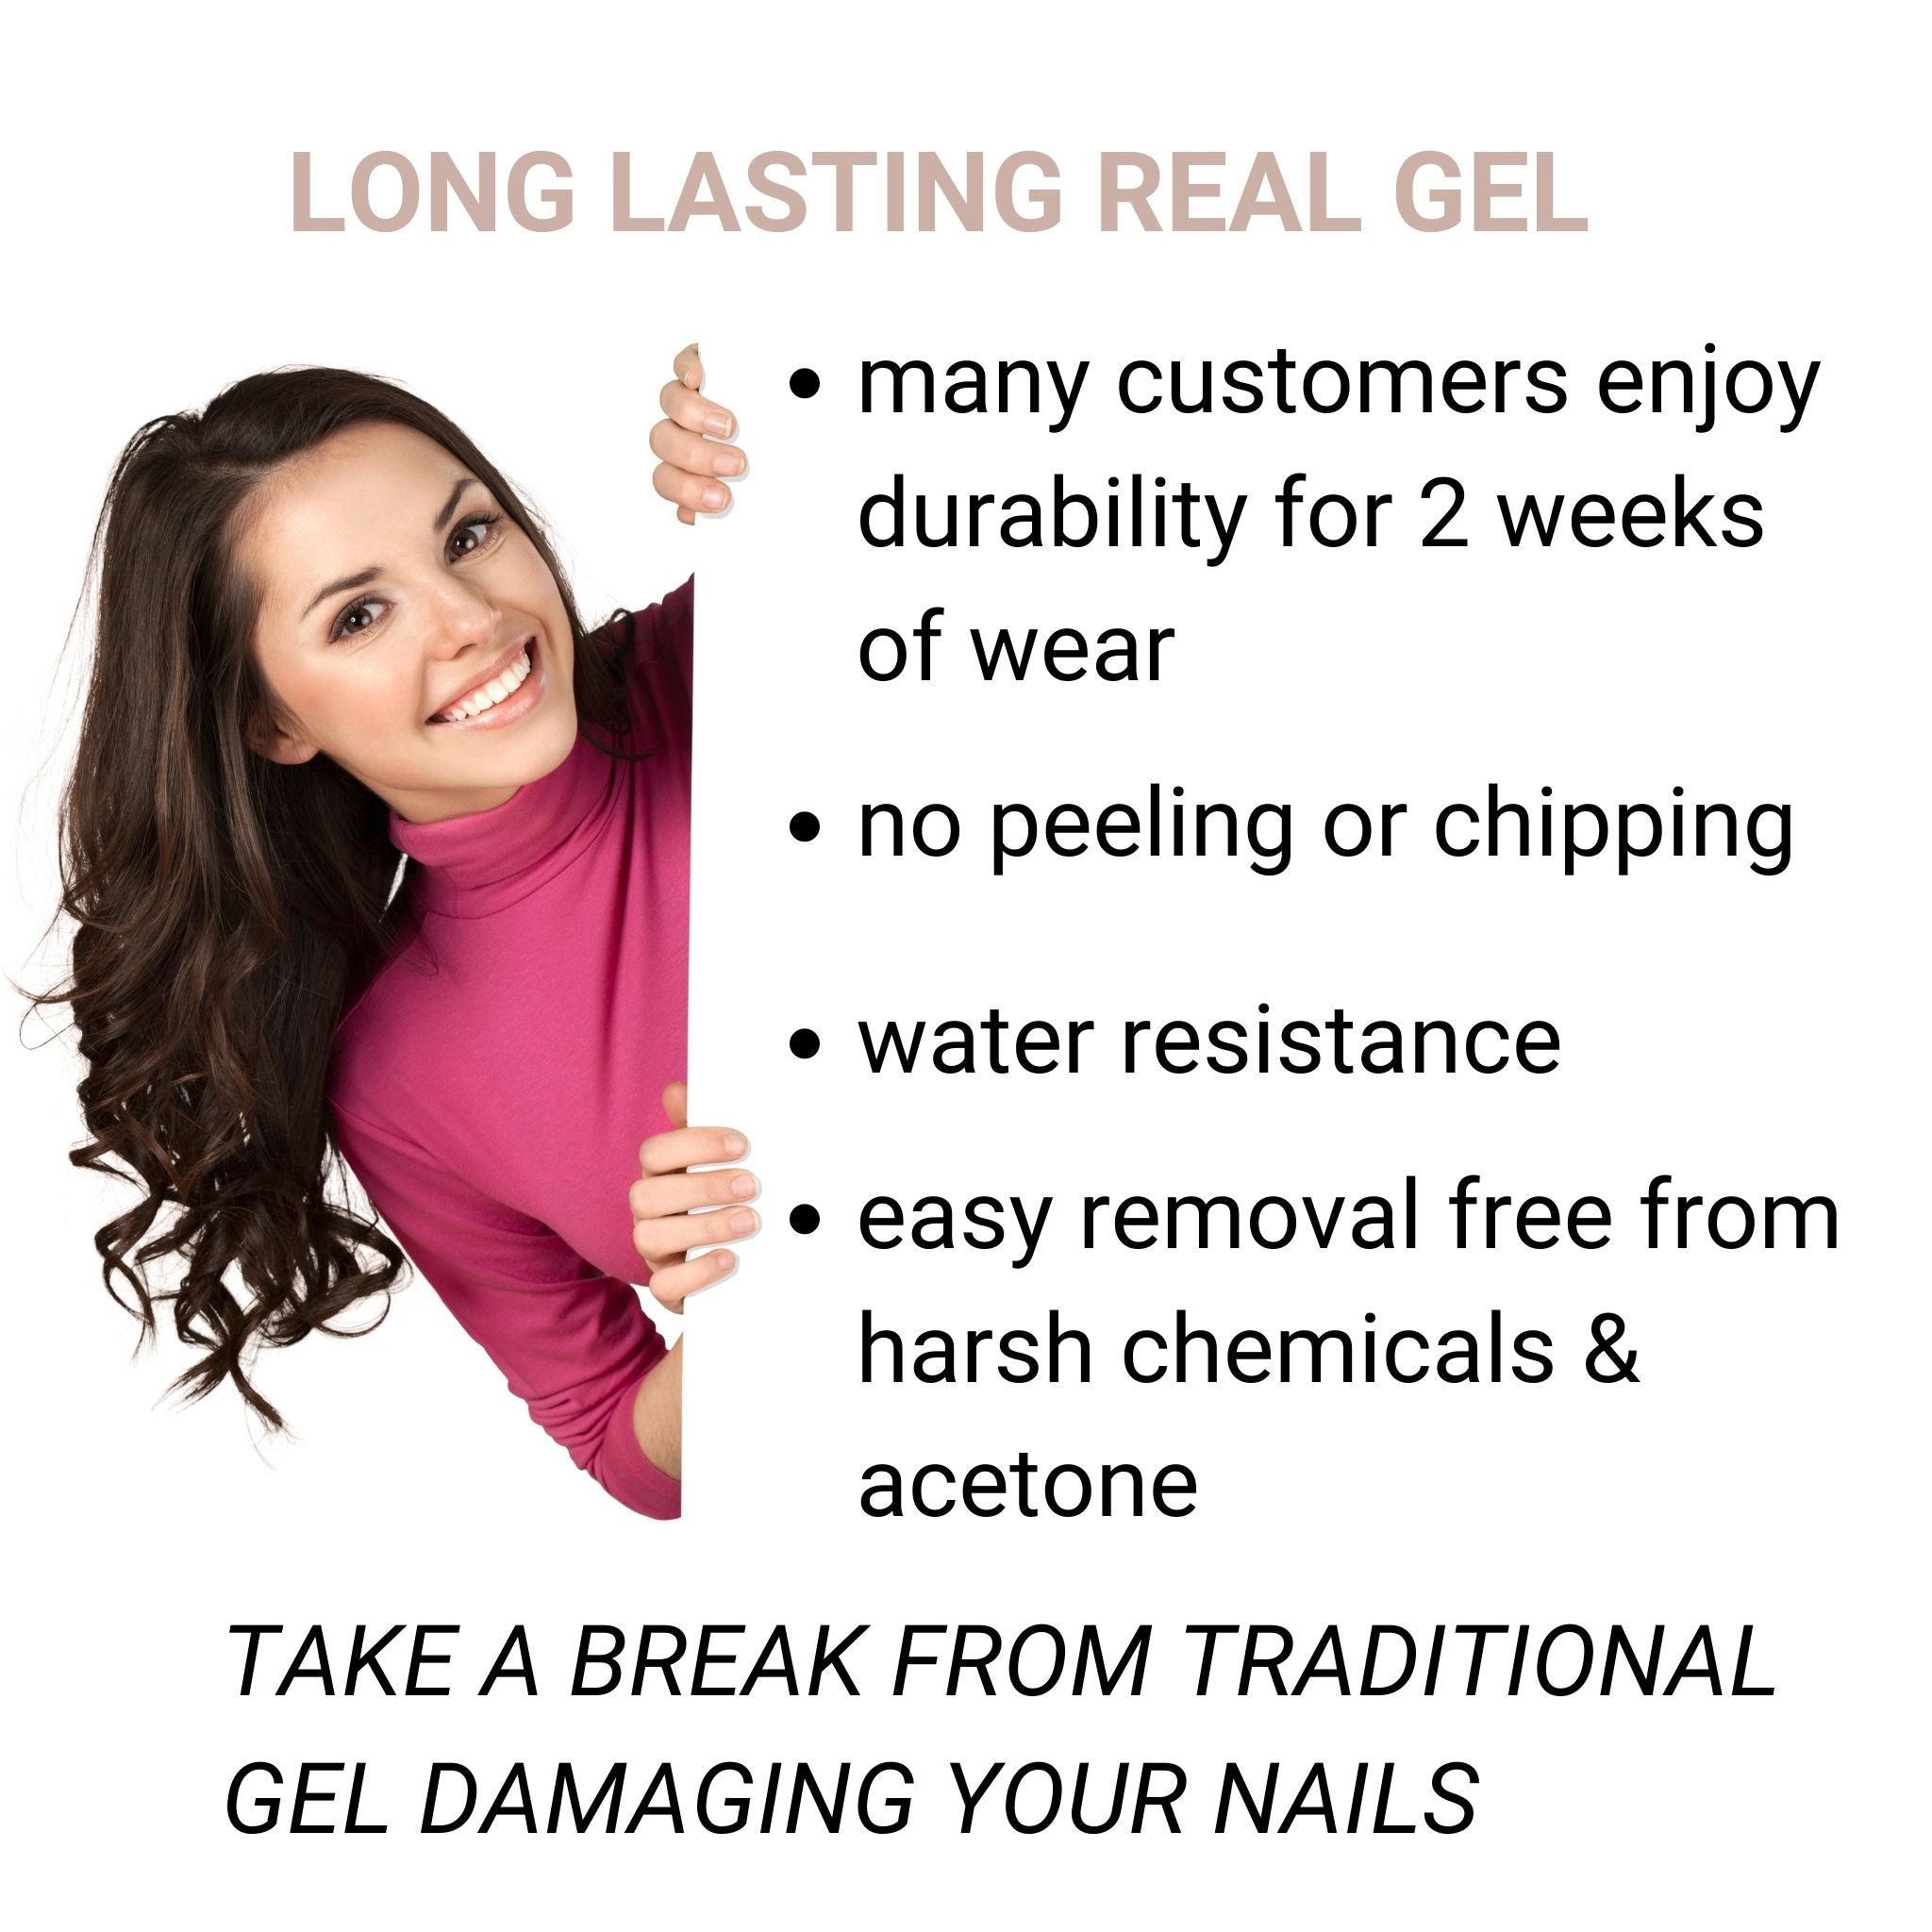
Quality strips like Alice & Bella's Gentle Gel™ can easily last 14 days with proper application and care. Imagine having gorgeous, salon-perfect nails for two whole weeks without a single chip! The key is following professional techniques from preparation through finishing.
Frequently Asked Questions
What if I make a mistake during application?
Don't panic! We've all been there. Simply remove the strip immediately and reposition it to your satisfaction. Strips are pliable before cure.
Once cured, you would need to start fresh with a new one. Attempting to reposition or fix major errors usually results in poor adhesion and shortened wear time. Think of it as practice - every nail artist has learned through trial and error!
Can I use regular nail polish over semi-cured strips?
While possible, it's not recommended to use regular polish as it can affect the strip's flexibility and longevity. Gel or shellac would be best for an Art design. Or if you want color variety, choose from the extensive design options available.
How do I know if my UV light lamp is working properly?
The strips should feel firm and completely set after 60-90 seconds. If they remain soft or tacky, your lamp may need to be replaced.
Key Takeaways
The bottom line: Professional-quality nail application is achievable at home with proper technique and quality semi-cured gel nail strips, wraps or stickers.
Essential steps for success:
- Invest time in thorough nail preparation
- Master the 45-degree application angle
- Focus on edge sealing and proper curing
Remember: Practice makes perfect, and every application is a chance to improve your skills. Your technique will get better with each manicure, leading to consistently gorgeous results that'll have everyone asking where you got your nails done!
Transform your at-home manicure game with Alice & Bella's Gentle Gel™ nail strips and professional application techniques. Visit www.aliceandbella.com to explore our complete collection of salon-quality nail solutions designed for busy professionals.
About Alice & Bella
Alice & Bella empowers professionals with innovative Gentle Gel™ nail strips that deliver salon-quality results at home. Our commitment to nail health and user education ensures you achieve beautiful, long-lasting manicures with confidence.
Related Articles
- The Ultimate Guide to Semi-Cured Gel Nail Strips
- Top 5 Mistakes to Avoid When Using Semi-Cured Gel Nail Wraps
- How Long Do Semi-Cured Gel Nail Strips Last?